I got this recipe (which Suzy and I lovingly refer to as “Nigella Helper”) from Nigella Lawson’s free Recipe Of The Day email. Like most of her Recipes Of The Day, it’s an absolute breeze to make; you can easily whip it together on a weeknight after work. But I like to make it ahead because it saves well and, like most soups and stews, I think it gets even better after “soaking” for a night or two in the fridge.
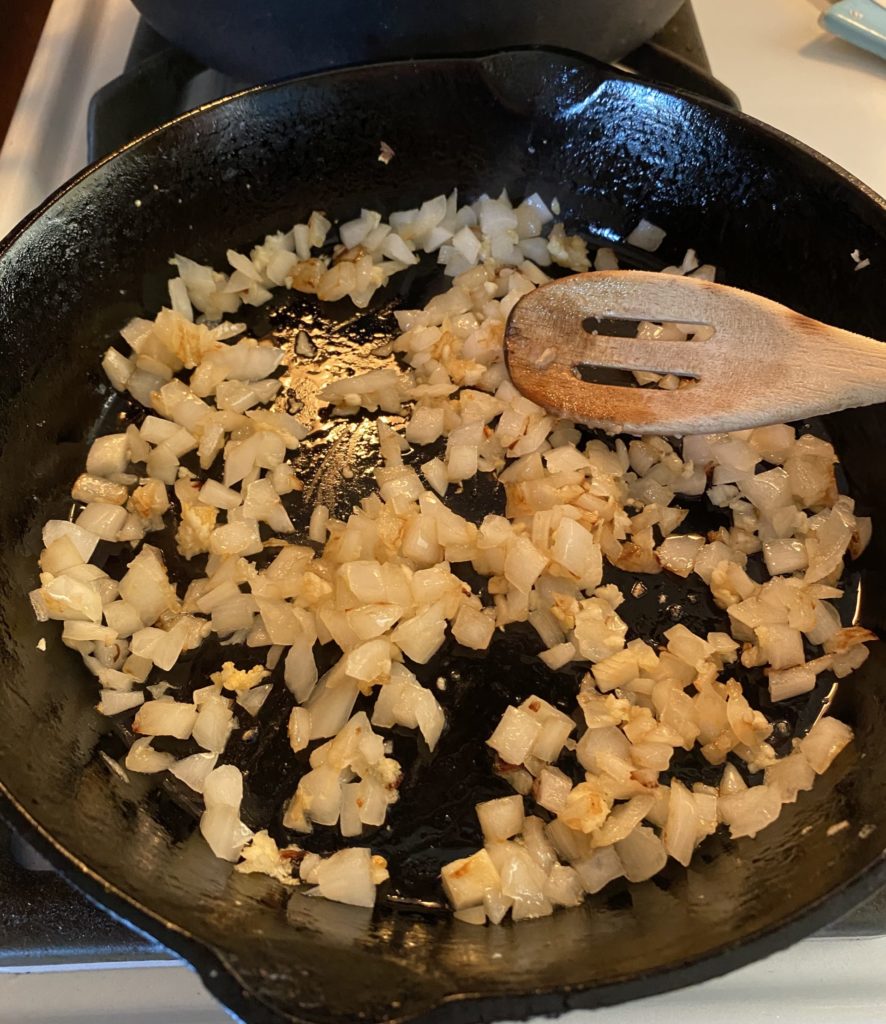
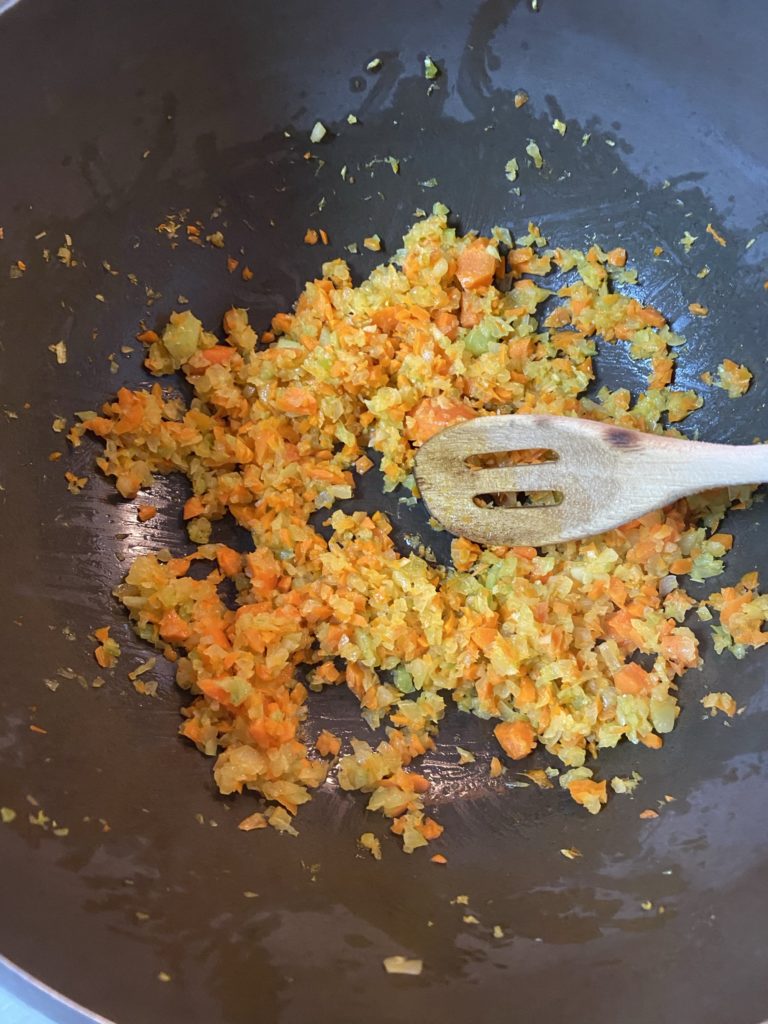
Heat a couple tablespoons of olive oil in a Dutch oven over medium heat while you finely chop a carrot, a stalk of celery, a small onion, and a clove or two of garlic. I usually use a little mini food chopper. When the oil is hot, pour in the veggies and let them cook 5 minutes or so, until they’re softened.
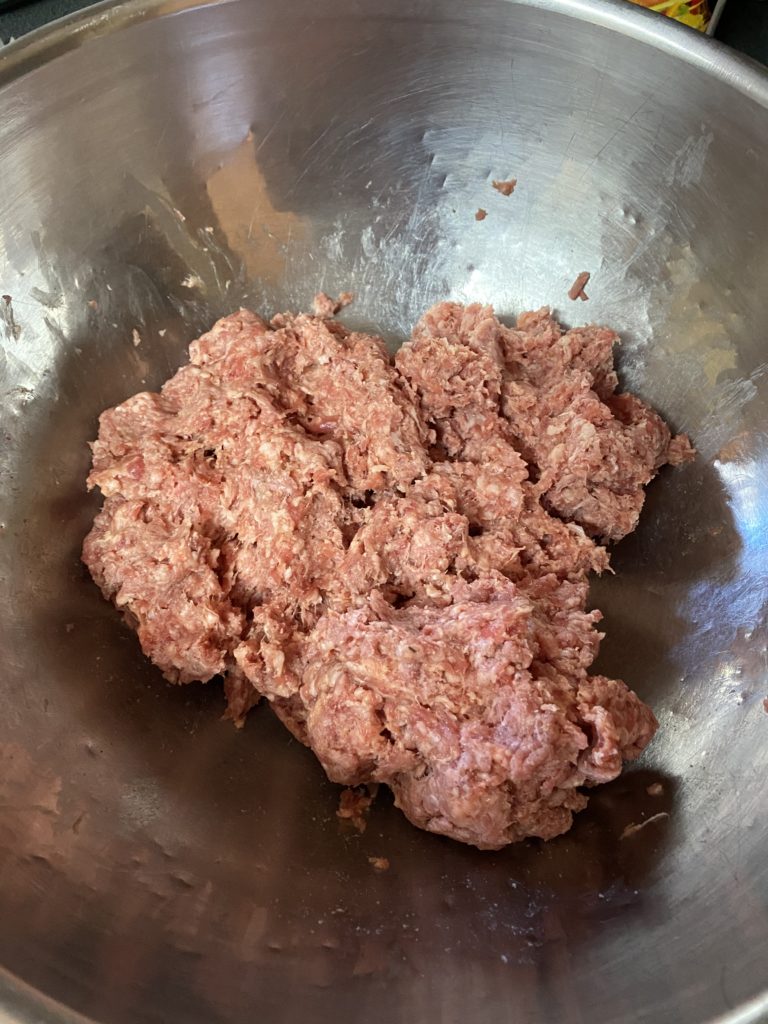
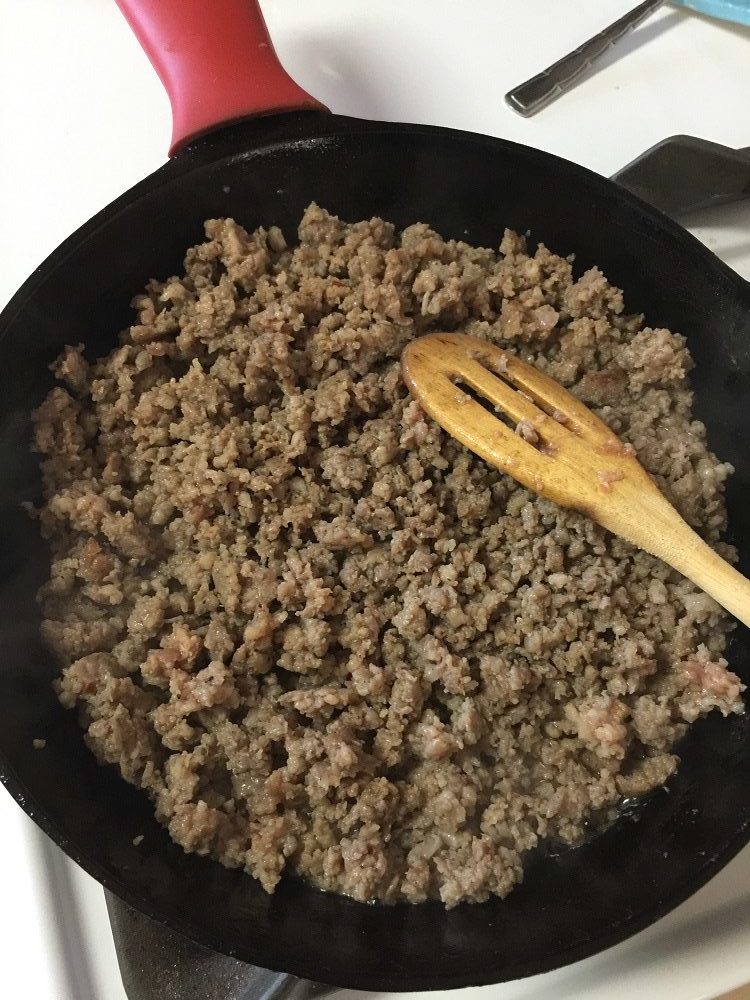
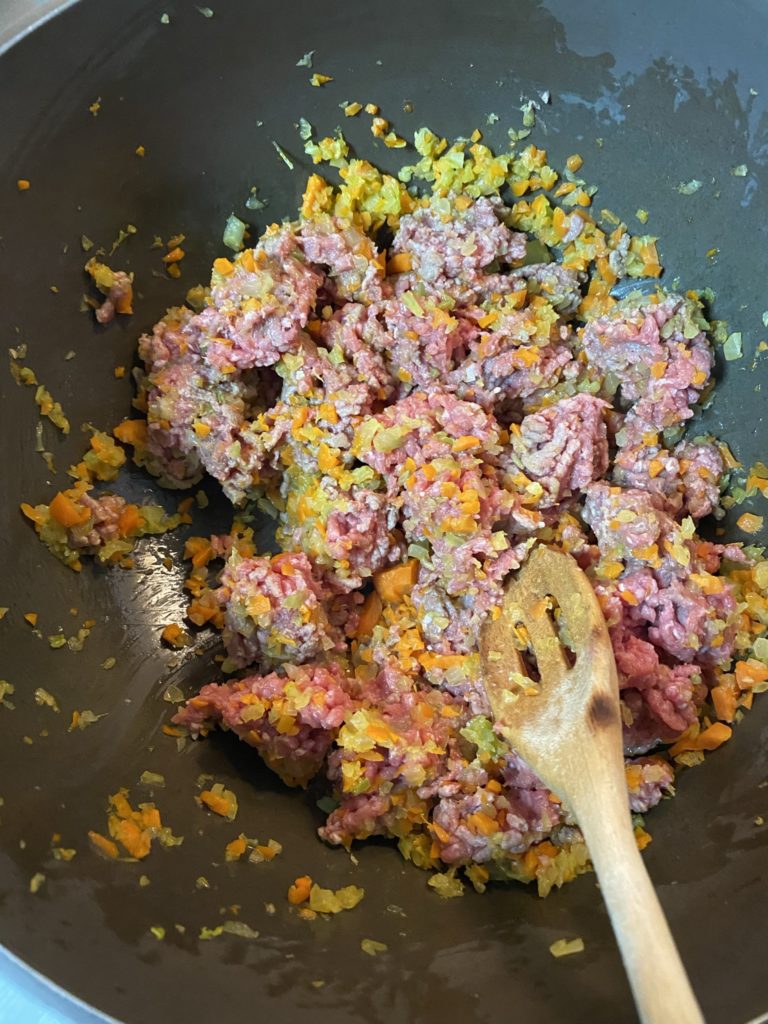
Add in about a pound of ground beef and turn the heat up a bit. Stir as needed to break it all up and get it cooked through until all the pink is gone.
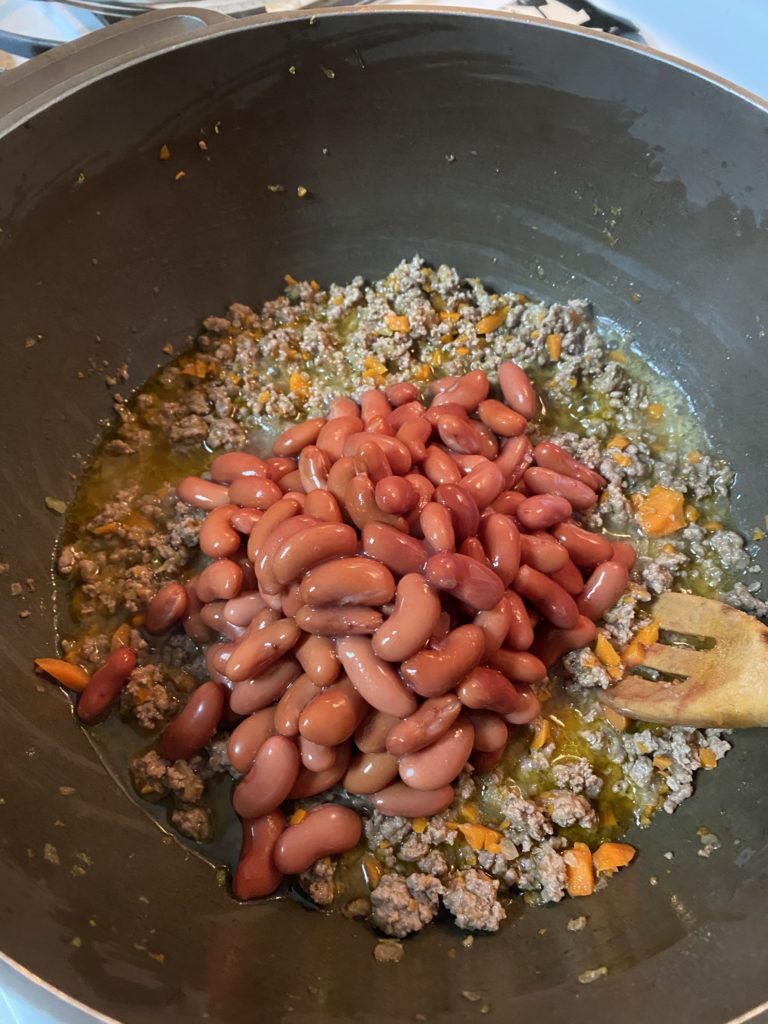
Add a can of kidney, pinto, or other beans, undrained. (Nigella’s recipe says borlotti beans, but I virtually never have them, and I almost always have kidney beans.)
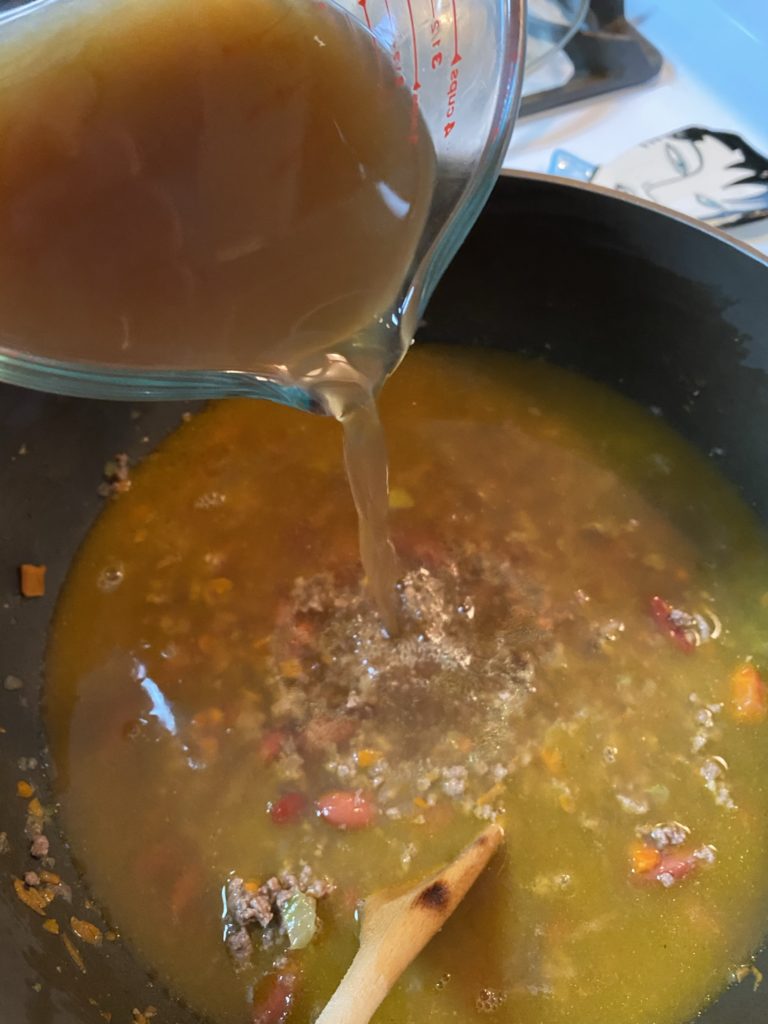
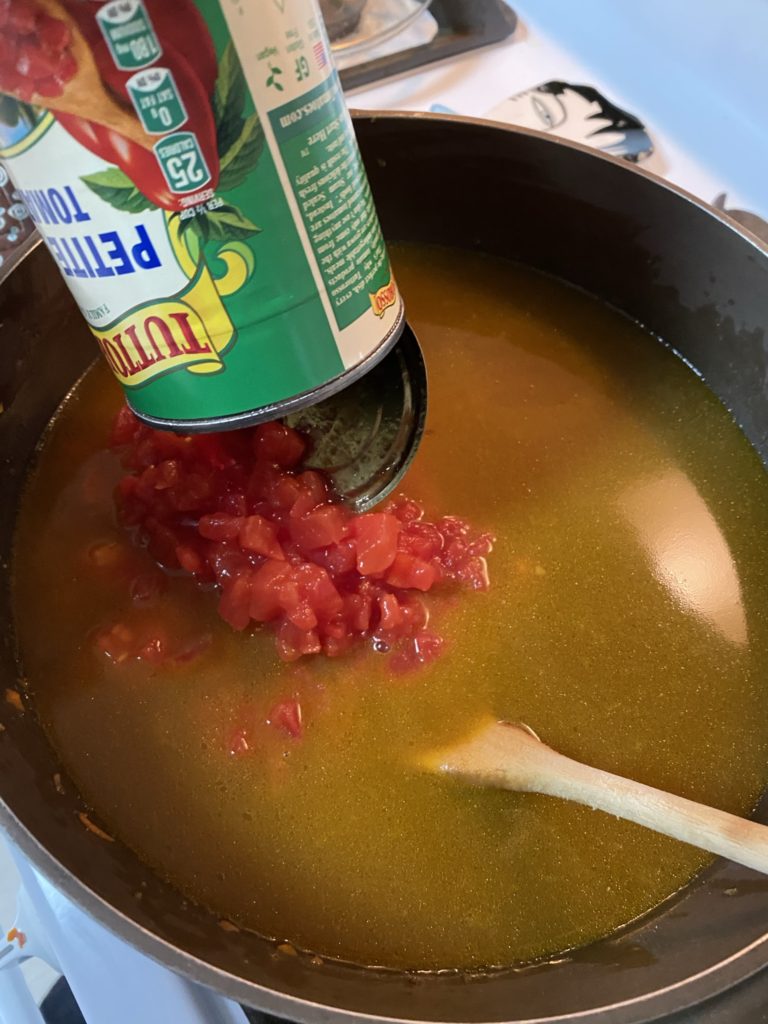
Stir in the beans, and then pour in 4 cups of beef broth and stir in a can of diced tomatoes.
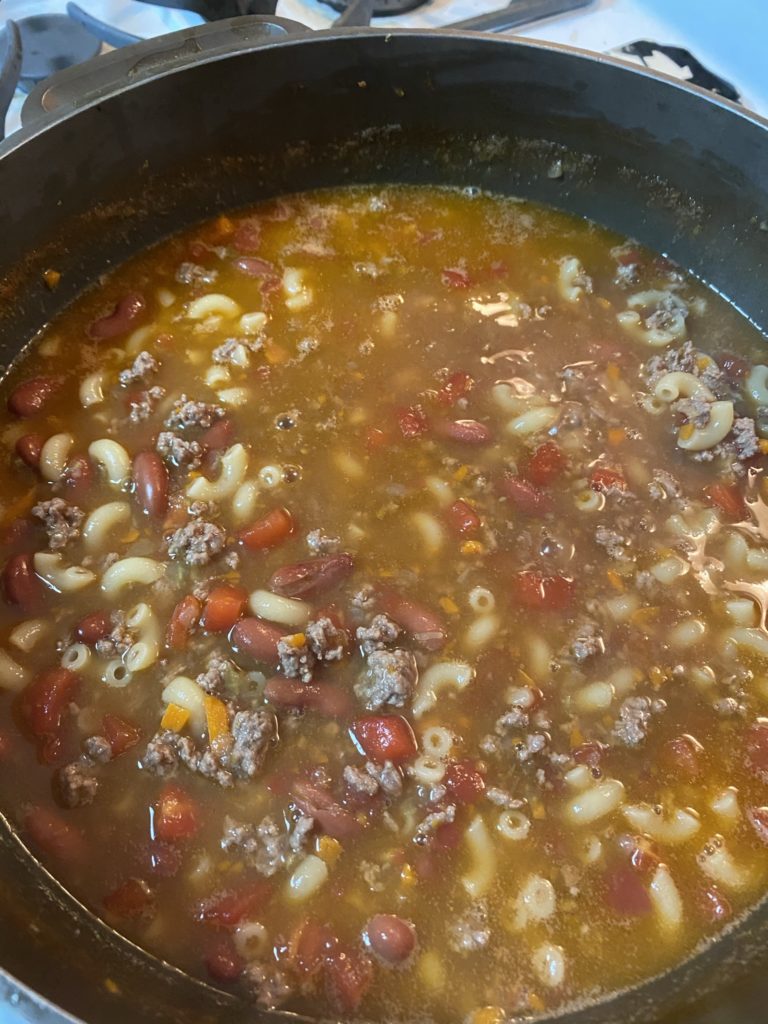
Let that come to a boil, and then add in 8 ounces (half a box) of macaroni or other small pasta. Stir it up, bring it back to a boil, and then turn it down to a fairly active simmer. Let it ride, uncovered, for about 20 minutes, stirring every so often. I find it needs more stirring at the beginning to keep the mac from sticking to the bottom of the pot.
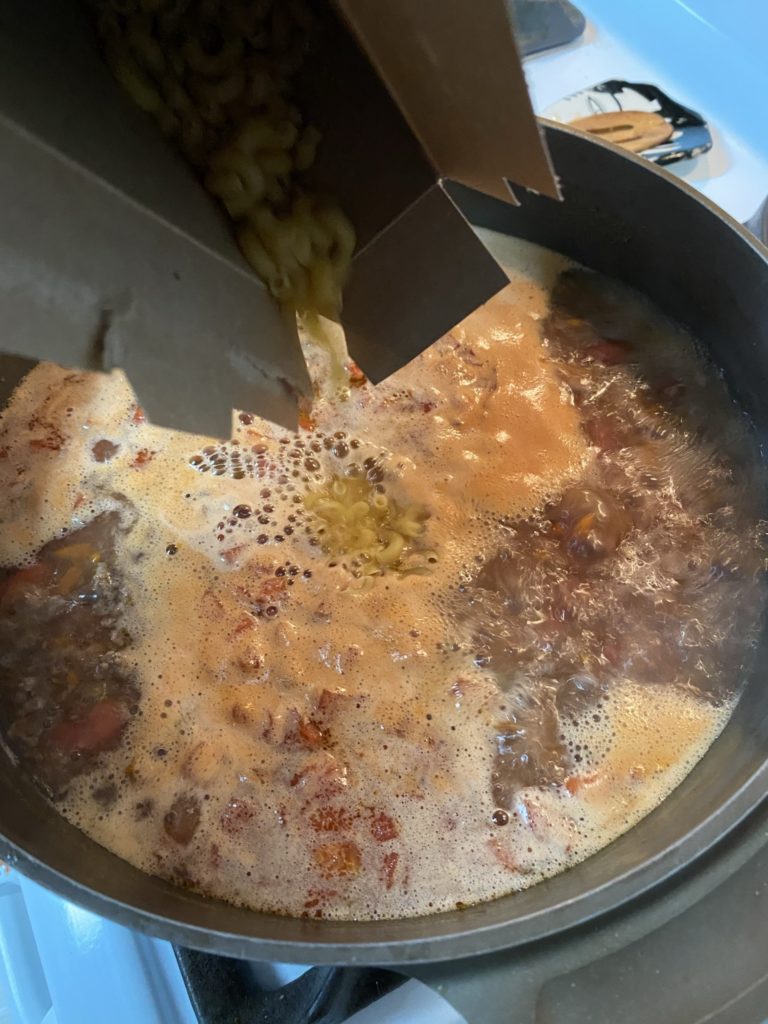
pour the pasta in at boiling 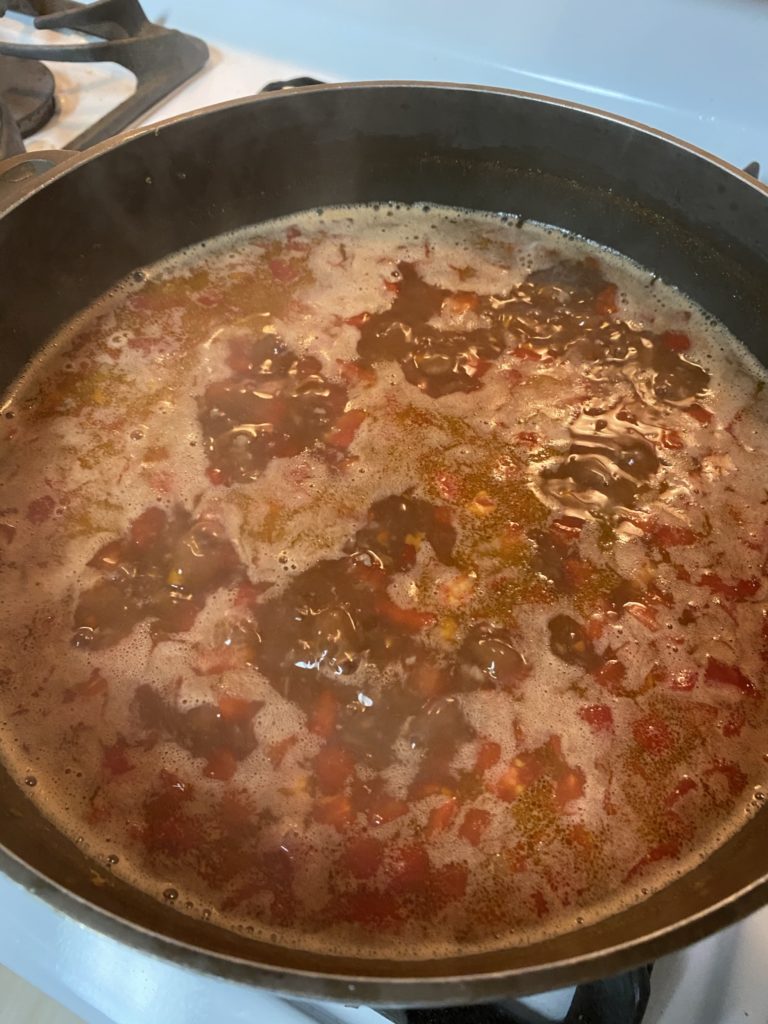
keep a good, solid simmer
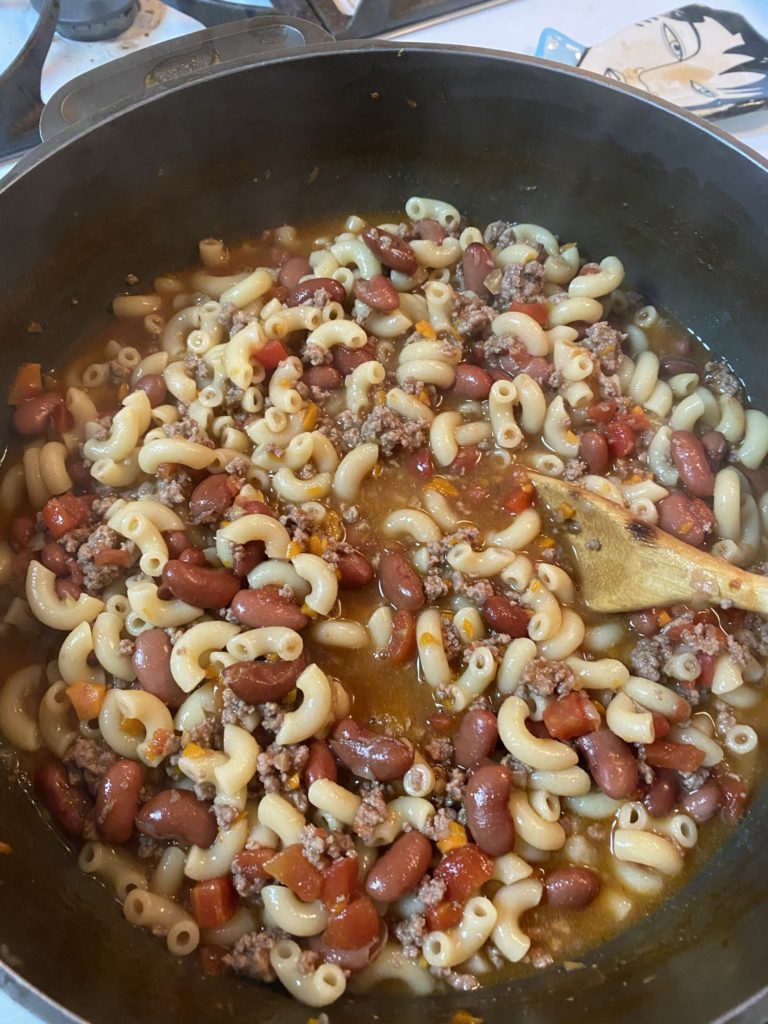
In the end you’ll have a sort of a thick stew. I like to let it get to the point where it’s equally suitable to serve in a bowl or on a plate.
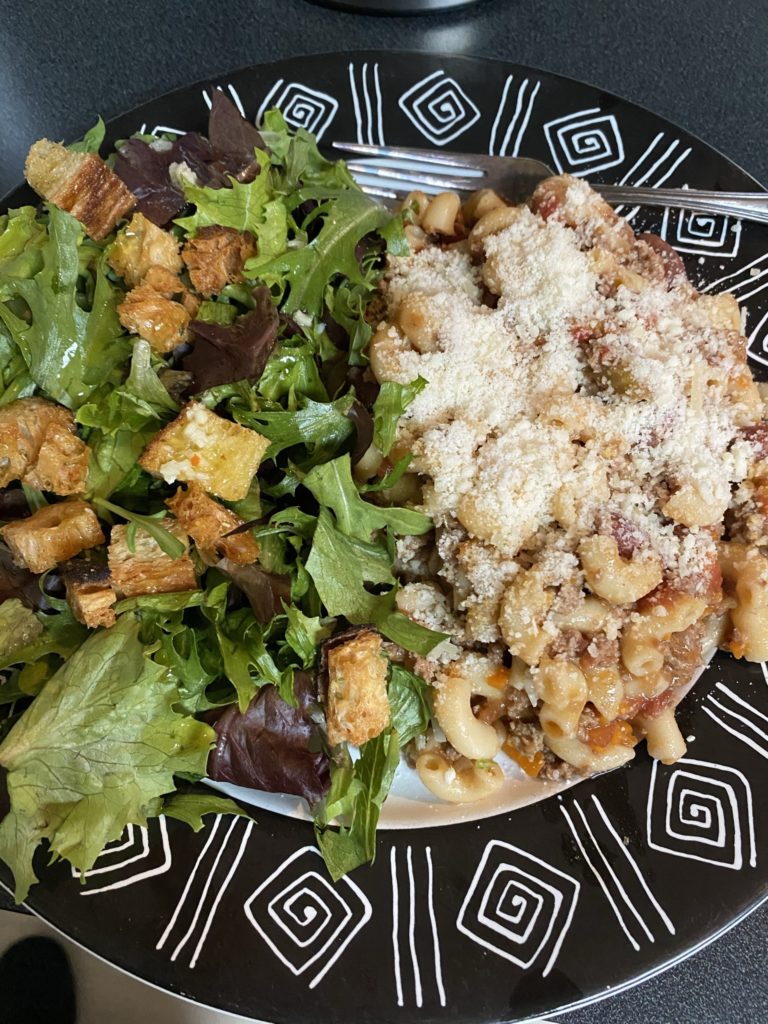
Nigella’s recipe calls for a sprinkle of parmesan when serving, which nudges the whole thing in a bit of an Italian direction. Pair it with a green salad or simple steamed vegetables. I’ve also discovered that if I skip the parm and add a little hot sauce, it makes for a pretty good chili. (Bonus!)
***